
Replacing a kitchen faucet is one of the highest-impact DIY upgrades in the house: an hour of work, basic hand tools, and your sink looks and works like new. If your old faucet drips despite new parts, has a corroded body, or you just want a pull-down sprayer, replacement beats another repair.
Quick answer: To replace a kitchen faucet, shut off the hot and cold valves under the sink, disconnect the supply lines, remove the mounting nuts with a basin wrench, and lift the old faucet out. Clean the sink deck, set the new faucet with its gasket or deck plate, tighten the mounting hardware from below, reconnect the supply lines, and turn the water back on slowly while checking every connection for leaks. Most replacements take 60–90 minutes.
Time: 60–90 min · Cost: price of the faucet + $10–20 in supplies (typical range — prices vary) · Skill: Beginner–Intermediate
What you’ll need:
- New kitchen faucet (matched to your sink — see Step 0)
- Basin wrench (the one specialty tool for this job — it reaches the mounting nuts in the cramped space behind the sink)
- Adjustable wrench and/or channel-lock pliers
- Bucket and old towels
- Flashlight or headlamp
- Plumber’s putty or kitchen/bath silicone (backup seal for uneven sink surfaces)
- New flexible supply lines (recommended if yours are old)
- Phone camera — photograph every connection before you disconnect it
Stocking your first toolkit? Our essential DIY tools guide
Safety first: Water and cramped cabinets are a bad combination for rushing. Shut off both supply valves and confirm the water is truly off before disconnecting anything. Know where your home’s main water shut-off is. If the under-sink shut-off valves are corroded, frozen, or leak when touched, stop and call a plumber rather than forcing them.
Step 0: Match the New Faucet to Your Sink (Before You Buy)
This is where replacements go wrong — buy the faucet after checking these three things:
- Count the mounting holes. Look at your sink deck (or under it): one hole, or three? If the new faucet uses fewer holes than the sink has, you need a deck plate (escutcheon) — a flat plate that covers the extra holes. Most faucets include one or sell it as an accessory. Going from 1 hole to 3+ holes means drilling, which is pro territory on porcelain or cast iron.
- Check the shut-off valves. Turn both under-sink valves off and back on. If they spin freely, drip, or won’t budge, replace the faucet another day — fix the valves first (that’s a plumber job if you’re not comfortable).
- Measure clearance. Make sure the new spout clears your tallest pot and doesn’t splash outside the bowl, and that there’s room under any cabinet or shelf above for the faucet’s height.

If your current faucet only drips and the body is in good shape, you may not need a replacement at all — a worn washer or cartridge costs a few dollars. See our dripping kitchen faucet fix guide
Step 1: Shut Off the Water and Relieve Pressure
- Turn both shut-off valves under the sink clockwise until they stop.
- Open the old faucet (both hot and cold) to release pressure and confirm the water is truly off. Leave it open while you work.
- Put the bucket under the supply connections and lay towels in the cabinet — some water will spill when you disconnect the lines.
- Take photos of every connection under the sink before touching anything.
Step 2: Disconnect the Supply Lines
- Using the adjustable wrench, loosen the nuts connecting the supply lines to the faucet tailpieces (and to the shut-off valves if you’re replacing the lines too).
- Have the bucket ready — water trapped in the lines and faucet will drain out.
- Replace old supply lines while you’re here. If the lines are rigid chrome, corroded, or more than ~10 years old, swap them for flexible braided stainless supply lines. They’re inexpensive, and reusing a corroded line is one of the most common sources of a leak after this job.
Step 3: Remove the Mounting Nuts and Lift Out the Old Faucet
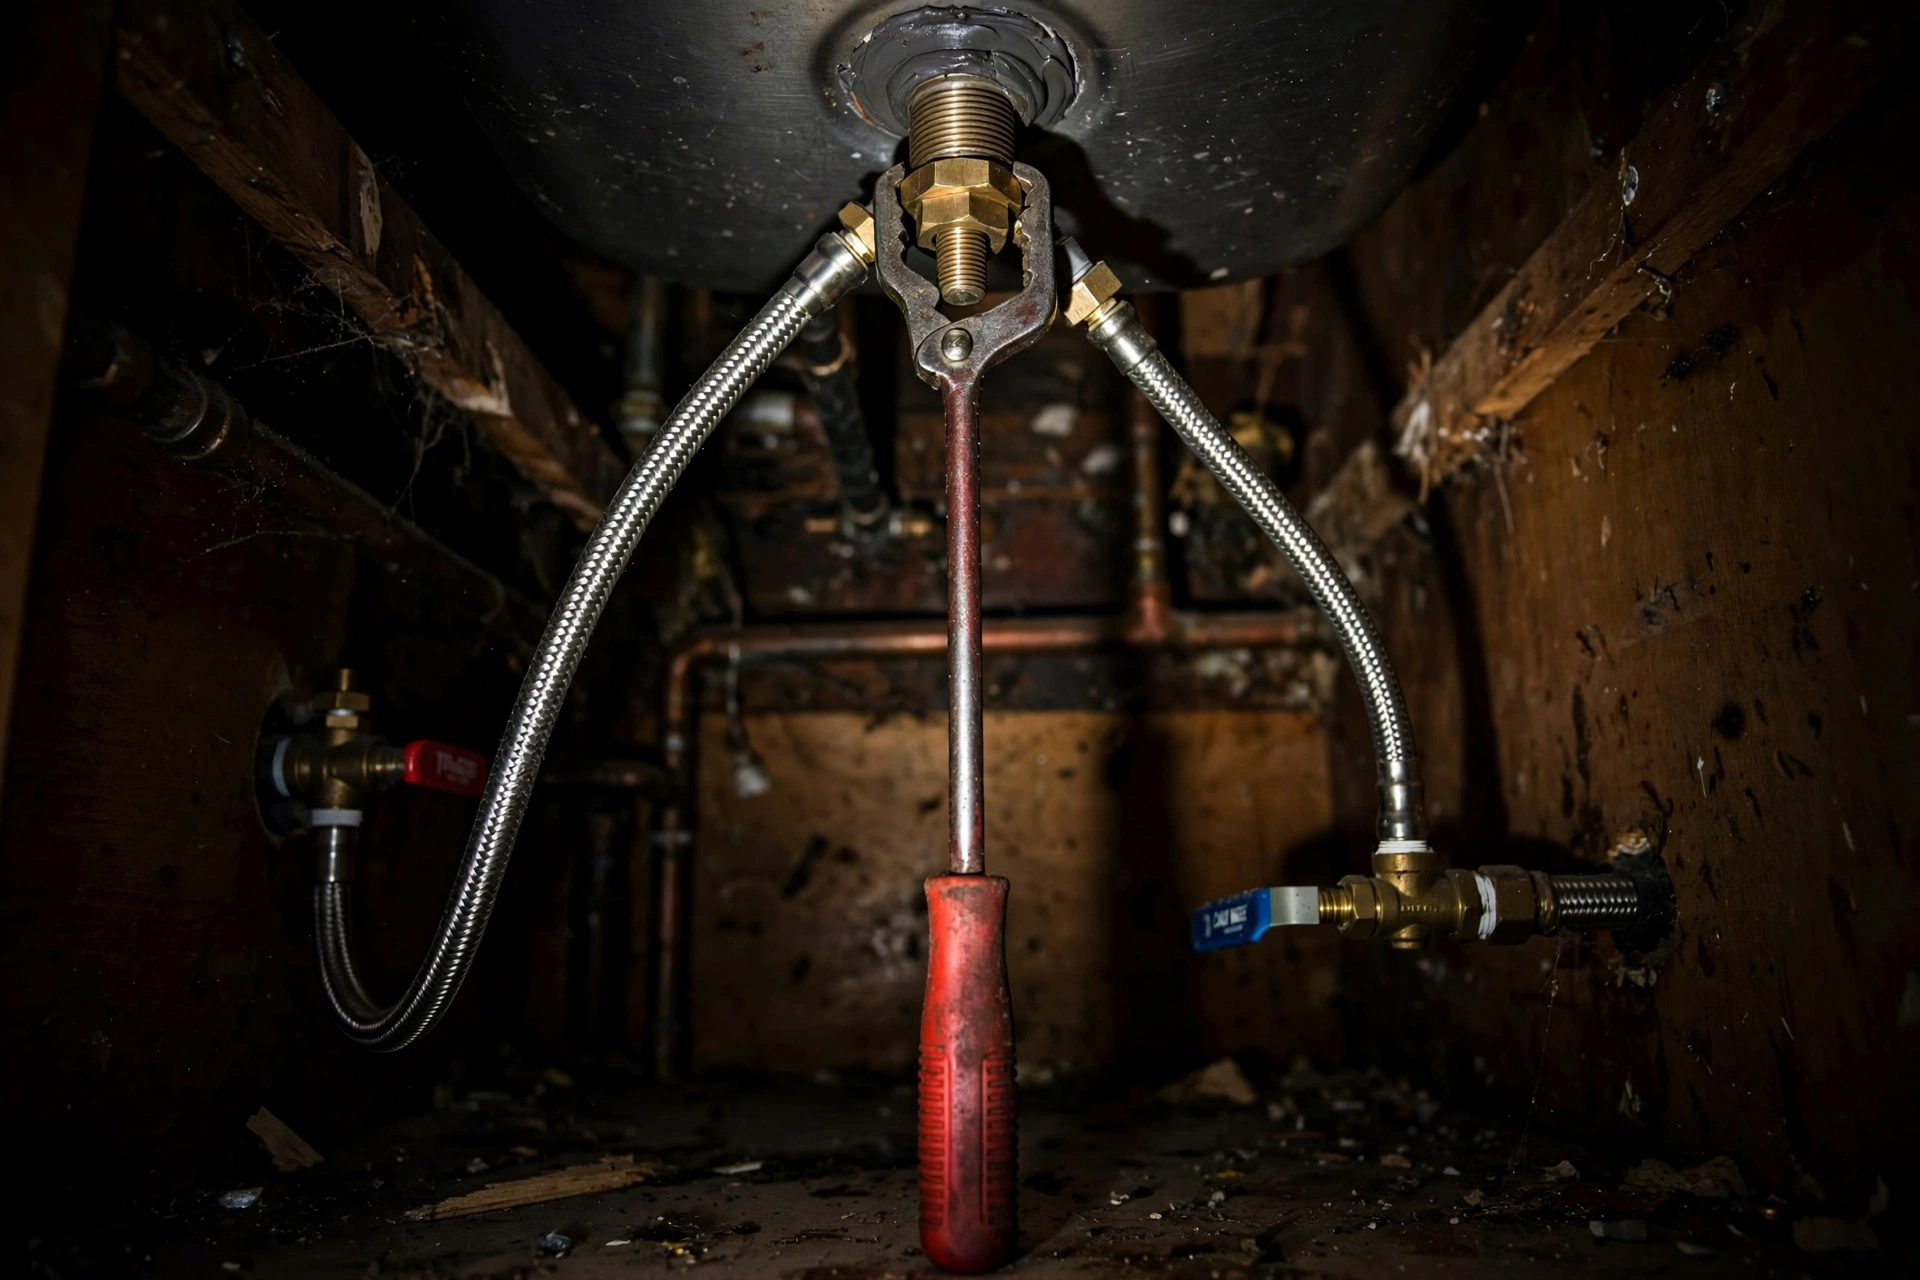
- From under the sink, find the mounting nut(s) holding the faucet to the sink deck — this is where the basin wrench earns its keep. Its long shaft and pivoting jaw reach up behind the sink where no normal wrench fits.
- Loosen and remove the mounting nuts (and the mounting bracket, if present).
- If it’s a pull-down faucet, disconnect the spray hose: unclip the counterweight from the hose under the sink, then disconnect the hose from the faucet body.
- From above, wiggle the old faucet gently and lift it out. Old putty or grime may hold it — steady pressure beats yanking.
Step 4: Clean the Sink Deck
Scrape off old plumber’s putty, silicone, and grime from around the mounting holes with a plastic scraper or old rag. The new faucet needs a clean, flat surface to seal against — skipping this is how slow base leaks start.
Step 5: Set the New Faucet
- If your sink has extra holes, position the deck plate over them first (most include a foam or rubber gasket on the underside).
- Feed the faucet’s supply tubes and spray hose (if any) down through the mounting hole(s).
- Press the faucet firmly onto the deck, making sure the spout faces forward and any gasket sits flat.
Step 6: Tighten the Mounting Hardware From Below
- From under the sink, slide the mounting bracket/washers over the tailpiece and thread on the mounting nuts.
- Tighten with the basin wrench until the faucet doesn’t rock — snug, not gorilla-tight. Overtightening can crack a porcelain sink or warp the deck plate and cause leaks.
- For a pull-down model: reconnect the spray hose to the faucet body and re-clip the counterweight onto the hose at the marked position.
Step 7: Reconnect the Supply Lines
- Connect the faucet’s supply tubes to the shut-off valves (or connect your new flexible lines: faucet end first, then valve end).
- Hot goes left, cold goes right — check before tightening.
- Hand-tighten, then give a quarter-turn with the wrench. Cross-threading is the enemy here: if a nut doesn’t spin on easily by hand, back it off and realign.
Step 8: Turn On the Water and Check for Leaks
- Close the faucet, then turn both shut-off valves back on slowly.
- Watch every connection — supply lines, mounting area, spray hose — for a full 2–3 minutes. Run a dry hand along each joint.
- Open the faucet and run hot and cold for 30 seconds to flush debris (new faucets often ship with grit in the lines).
- If the flow seems weak, unscrew the aerator at the spout tip and rinse it — debris from the install commonly lodges there.
Troubleshooting: Problem → Cause → Fix
| Problem | Likely cause | What to do |
|---|---|---|
| Drip from a supply-line connection | Nut undertightened, cross-threaded, or old washer | Tighten a quarter-turn; if it persists, disconnect, check the washer/seat, and reseat |
| Water seeping from the faucet base | Gasket not flat, deck not clean, or mounting nuts loose | Tighten mounting nuts; if it continues, remove and reseat with plumber’s putty or silicone |
| Low pressure after install | Debris in the aerator | Unscrew the aerator and rinse it out |
| Hot and cold reversed | Supply lines swapped | Swap the connections at the shut-off valves |
| Sprayer hose won’t retract | Counterweight mispositioned or hose snagged | Reposition the weight per the manual; clear obstructions under the sink |
| Shut-off valve drips after the job | Old valve disturbed | Tighten the packing nut slightly; if it still drips, call a plumber |
FAQ
How long does it take to replace a kitchen faucet?
Most beginners finish in 60–90 minutes. Corroded mounting nuts or stuck supply lines are what stretch it to two hours — penetrating oil and patience help, but don’t force corroded parts.
Do I need plumber’s putty?
Most new faucets include a rubber or foam gasket that seals fine on a flat, clean sink deck. Use plumber’s putty or kitchen/bath silicone as backup if the deck is uneven, pitted, or the old seal was leaking.
Should I replace the supply lines too?
Yes, if they’re old, rigid chrome, or corroded. Flexible braided stainless lines are inexpensive and far more forgiving. Reusing a worn line is the most common cause of a post-install leak.
Can I replace a kitchen faucet without turning off the water?
No — don’t. Shutting off the under-sink valves takes seconds. If the valves don’t hold, use the home’s main shut-off; if you can’t stop the water, call a plumber.
My sink has three holes but the new faucet needs one — what now?
Use a deck plate (escutcheon) to cover the extra holes — most faucet brands include or sell one. Don’t leave holes open; they’ll leak water into the cabinet.
The mounting nut won’t budge — what do I do?
Soak it with penetrating oil, wait 15 minutes, and try the basin wrench again. If the nut or tailpiece is visibly corroded and crumbling, stop — snapping it off turns a faucet swap into a bigger repair. A plumber can extract it quickly.
When to Call a Plumber — No Exceptions
- Shut-off valves are frozen, corroded, or leak when you touch them.
- You need new holes drilled in porcelain, cast iron, or stone — one wrong move cracks the sink.
- Supply lines or tailpieces are corroded and crumble instead of loosening.
- You’re changing the sink or countertop configuration at the same time — that’s a bigger project.
- Anything involves soldering, or pipes before the shut-off valves.
For a broader sense of where DIY plumbing ends and pro work begins, see our beginner plumbing repairs guide
The Bottom Line
Replacing a kitchen faucet is mostly a logistics job, not a skill job: match the faucet to your sink holes, shut off the water, swap the hardware with a basin wrench, and check every connection for leaks before you call it done. An hour of careful work beats paying a plumber for one of the most beginner-friendly upgrades in the house.

Mohammed Algaari is the founder and editor of DIYMendly, a practical home-repair resource focused on making common DIY problems easier to understand and solve. He oversees the site’s content strategy and editorial direction, with an emphasis on clear, well-researched, step-by-step guidance based on reliable sources.