
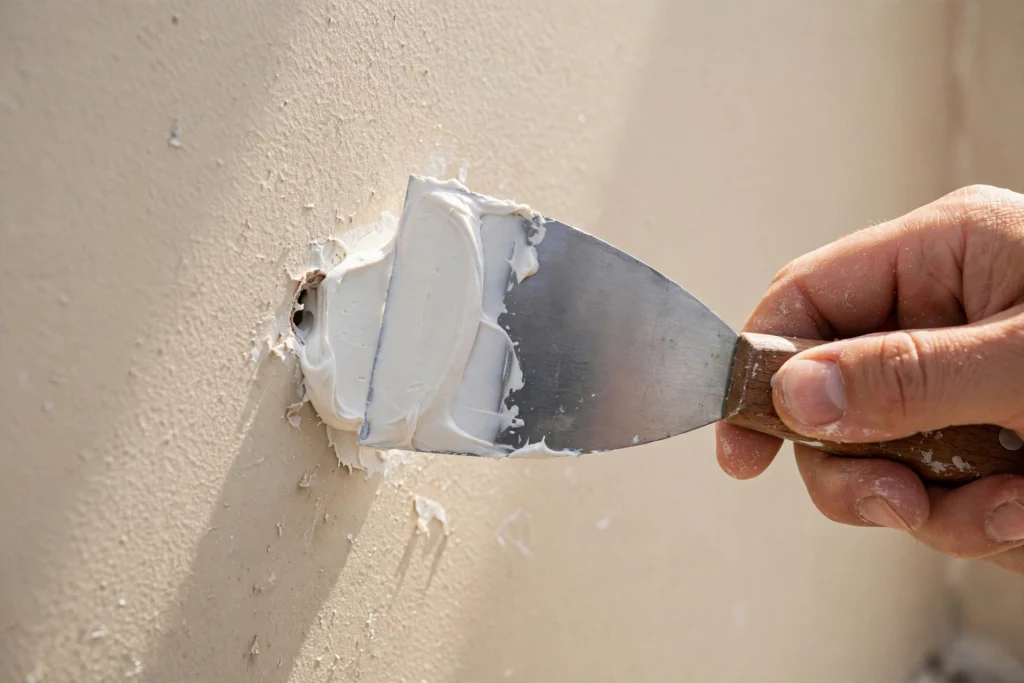
Every home collects wall wounds: nail holes from the previous owner’s gallery wall, a doorknob dent in the hallway, the mysterious small hole behind the bedroom door that nobody will explain. Drywall patching looks like skilled-trade magic, but small repairs are genuinely one of the most forgiving DIY jobs in existence — the materials are cheap, mistakes sand off, and the technique is 90% patience.
This guide covers the two repairs that handle nearly all small drywall damage: spackle for nail holes and minor dents, and self-adhesive patch kits for holes up to about 4 inches. Follow the steps, respect the drying times, and your wall will look like the hole was never there.
Safety first: wear a dust mask when sanding (drywall dust is nasty), and cut power to outlets/switches if you’re patching near them.
What You’ll Need
For nail holes and small dents (spackle method):
- Lightweight spackle ($5–8 for a tub) — not joint compound for tiny holes; spackle shrinks less and sands easier
- Flexible putty knife — 1.5-inch is ideal ($8–12)
- Fine sandpaper or sanding sponge — 120-grit then 220-grit ($5 for a multipack of sponges)
- Damp cloth
For holes up to ~4 inches (patch kit method):
- Everything above, plus:
- Self-adhesive mesh or metal drywall patch ($5–10 for a kit with a few sizes) — or a small piece of fiberglass mesh tape
- All-purpose joint compound ($8–12 for a small tub) — for the patch method, joint compound feathers better than spackle over larger areas
- 6-inch taping knife ($10–15) — wider blade for feathering the patch edges
- Primer — a small can of drywall primer ($10–15); paint alone doesn’t seal repairs properly
- Dust mask ($5 for a pack) — non-negotiable for sanding
Total: $10–25 for the spackle method, $25–45 if you’re buying everything for the patch method from scratch. Many of these tools (putty knife, sanding sponges) overlap with the kit in our essential DIY tools guide.
Know Your Damage: Which Method?
- Nail/screw holes, small dents, scuffs (under ~1/2 inch): spackle method. 20 minutes of work plus drying time.
- Holes from 1/2 inch to ~4 inches (doorknob dents, curtain rod anchors ripped out): self-adhesive patch kit method. About an hour of work spread across a day (drying time between coats).
- Holes bigger than ~4–6 inches: a different technique (cutting and fitting a drywall piece with backing support). Doable for an ambitious beginner, but beyond this guide — and honestly a good first “call a handyman” job if you’ve never done it.
- Sagging, crumbling, or water-stained drywall: don’t patch over it. Find and fix the moisture source first, then assess. See the end of this guide.
Method 1: Nail Holes and Small Dents (Spackle)
⏱ 20 min + 1–2 hrs drying · 💲 $10–15 · 🛠 Beginner
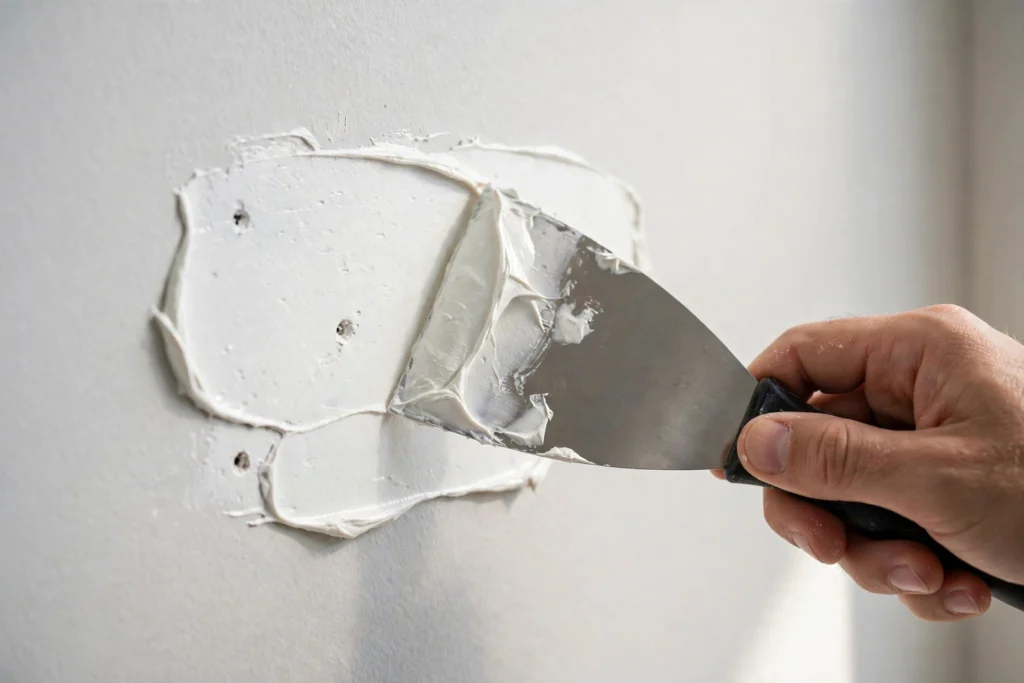
- Prep the hole. Scrape away any loose paint flakes or crumbling drywall around the hole with your putty knife. For nail holes with a raised bump (nail pops), press the area flat first — set a nail set or the butt of a screwdriver on the spot and tap gently to dimple it just below the surface.
- Load the putty knife. Scoop a small amount of spackle onto the blade — less than you think. The #1 beginner mistake is overfilling.
- Fill with one confident pass. Hold the knife at about a 45-degree angle and sweep the spackle across the hole, pressing it in. Then make a second pass at 90 degrees to scrape off the excess. You want the hole filled and the surrounding wall nearly clean — a thin skim is all you need.
- Let it dry completely. Lightweight spackle dries in 1–2 hours (it turns from pink/white to bright white when dry, depending on the formula — check the label). Don’t rush this; sanding wet spackle gums up and tears.
- Sand smooth. Wrap 120-grit around a sanding block or use a sanding sponge, and sand lightly in circles until the patch is flush with the wall. Finish with a quick pass of 220-grit. Run your hand over it — your fingertips detect bumps your eyes miss.
- Wipe clean with a damp cloth to remove dust. Let it dry.
- Prime, then paint. Spot-prime the patch (unprimed spackle absorbs paint differently and flashes through as a dull spot), let the primer dry, then paint. See the paint-matching section below.
Method 2: Holes Up to ~4 Inches (Patch Kit)
⏱ 1 hr work + drying between coats · 💲 $15–25 · 🛠 Beginner
- Trim the damage. Use a utility knife to cut away any torn paper facing or crumbling drywall around the hole, so you have clean edges. The hole should be roughly round or square with solid drywall around it.
- Stick the patch on. Peel the backing off the self-adhesive patch and center it over the hole, pressing firmly — especially the edges. The patch should extend at least an inch past the hole on every side.
- First coat of joint compound. With the 6-inch taping knife, spread a thin layer of joint compound over the entire patch, pressing it through the mesh. Keep it thin — you’re filling the mesh, not building a mound. Feather the edges outward so the compound fades into the surrounding wall with no hard ridge.
- Let it dry fully — typically 2–4 hours or overnight for the first coat. It must be completely dry and hard before the next coat. (Drying time is the real timeline of this project; the work itself is quick.)
- Second coat, wider. Apply a second thin coat, extending a couple of inches beyond the first coat’s edges. This wider feathering is what makes the repair invisible — pros call it “skimming out.” Let dry fully.
- A third coat if needed. Big patches often need three thin coats. Thin coats that dry fully beat one thick coat every time — thick coats crack and take forever to dry.
- Sand smooth. Start with 120-grit to knock down ridges, finish with 220-grit. Sand with light pressure and a block (not just your fingers, which create dips). Frequently run your hand over the area and sight along the wall at an angle — raking light reveals every bump.
- Wipe, prime, paint. Damp-cloth the dust off, spot-prime the entire patched area, then paint.
Sanding Technique: The Difference Between Amateur and Invisible
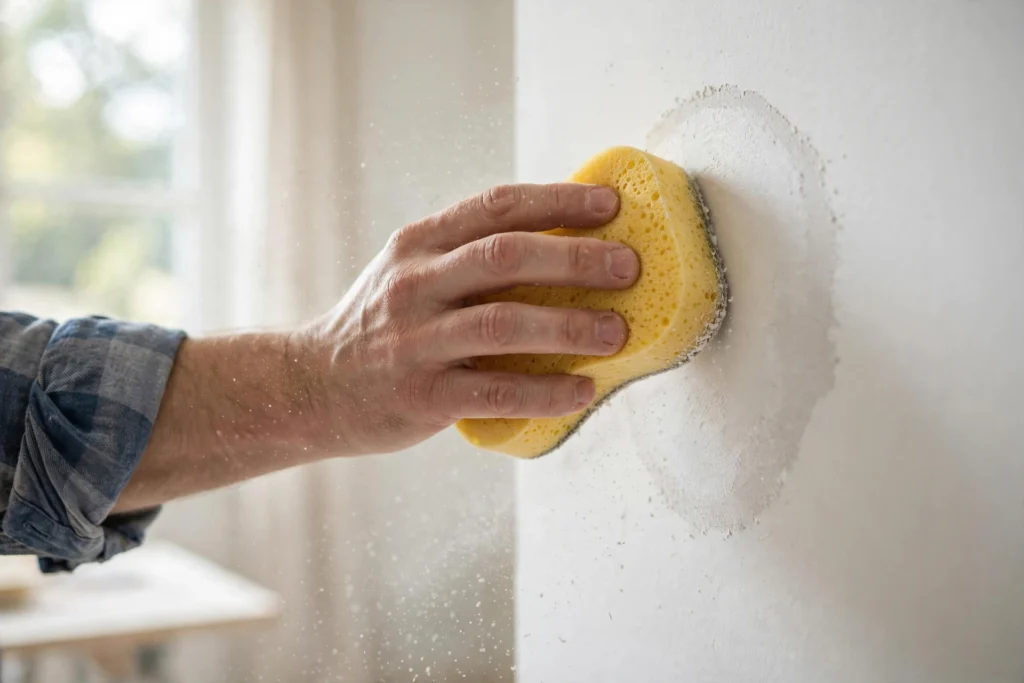
Sanding is where patches become invisible or stay obvious:
- Use a sanding block or sponge, not loose paper in your fist. Fingers create uneven pressure and visible dips.
- Light pressure, more passes. Let the abrasive do the work. Pressing hard gouges the soft compound.
- Sand in good light. Hold a work light or flashlight at a low angle to the wall — “raking light” shows every ridge and dip your overhead light hides.
- Don’t over-sand. Sanding through to the mesh or the brown paper facing means starting that coat over. Stop when it’s smooth and flush.
- Wear the dust mask. Drywall dust is fine, pervasive, and irritating. Sanding sponges used slightly damp cut dust dramatically.
Priming and Paint Matching: The Honest Truth
Here’s what most tutorials won’t tell you: an invisible touch-up is genuinely hard. Fresh paint over a patch almost always looks slightly different from the aged paint around it — different sheen, different fade, different texture. Here’s how to get the best result:
- Always prime the patch first. Joint compound and spackle are thirsty — paint applied directly soaks in unevenly and leaves a dull “flash” mark that’s visible from across the room. One coat of drywall primer solves this.
- Use the exact original paint if you have it. Check the basement, garage, or utility room — previous owners often leave cans. Stir it thoroughly; paint separates in storage.
- If you don’t have the original paint, take a chip (a quarter-sized flake from an inconspicuous spot, like behind a door) to the paint store for computer color matching. It’s remarkably good — but “remarkably good” still isn’t perfect under all lighting.
- Feather the touch-up. Don’t paint just the patch — extend the new paint a few inches beyond it with light, dry-brush strokes so the edge fades.
- Know when to repaint the whole wall. If the touch-up is visible after drying (check in daylight and at night under lamps), the honest fix is repainting the wall corner-to-corner. Paint fades and sheen changes over years; a full wall in fresh paint always looks intentional, while a visible patch always looks like a patch. For a small bedroom wall, this is an extra hour and a quart of paint.
Texture Matching Basics
Most interior walls aren’t perfectly smooth — they have a light texture (often called “orange peel”). A glass-smooth patch on a textured wall stands out:
- For light orange-peel texture: after your final coat of compound is dry but before priming, you can approximate the texture by thinning a little joint compound to pancake-batter consistency and dabbing it on with a sponge, then lightly knocking it down with the taping knife. Practice on cardboard first.
- Texture spray cans ($10–15) exist for orange peel and knockdown textures. They work, but practice on scrap first — the spray pattern takes a few tries to match, and it’s easy to over-apply.
- For truly smooth walls: skip texture entirely and sand the patch glass-smooth.
Perfect texture matching is genuinely difficult — it’s the one part of this job where “close enough” is the realistic goal, and paint hides more than you’d expect.
When the Damage Is Too Big for DIY
Patching is for surface damage. Stop and reassess when:
- The hole is bigger than about 6 inches across, or there are multiple large holes. This needs a cut-and-fit drywall repair with wood backing — learnable, but a bigger project than this guide.
- The drywall is sagging, crumbling, or soft. The gypsum core is compromised; patching over it is like spackling a sponge.
- There’s water staining, mold, or a musty smell. Find and fix the moisture source FIRST (roof leak? plumbing leak? condensation?). Patching over active moisture traps the problem and grows mold behind your repair. Our DIY plumbing repairs guide can help you triage the leak side.
- The damage is in a ceiling that’s sagging. Ceiling drywall is heavy; sagging sections can fall. This is handyman-or-contractor territory.
- You suspect asbestos or lead. Pre-1978 homes: test for lead paint before disturbing anything. Pre-1980s texture or insulation: don’t sand or scrape until asbestos is ruled out. Test kits are cheap; mesothelioma is not.
FAQ
How long does spackle take to dry?
Lightweight spackle typically dries in 1–2 hours for nail holes; deeper fills take longer. Many formulas change color when dry (often from pink to white) — trust the label, not the clock. Joint compound over a patch needs 2–4+ hours per coat, or overnight for thick areas. Humid weather slows everything down.
Can I use toothpaste or caulk instead of spackle for nail holes?
Toothpaste is a rental-move-out myth — it shrinks, cracks, and yellows. Caulk stays rubbery and can’t be sanded smooth, so it telegraphs through paint. A $6 tub of spackle is the right tool and lasts for dozens of holes. Don’t improvise this one.
Do I really need to prime before painting the patch?
Yes. This is the most-skipped step and the most common reason patches stay visible. Unprimed compound absorbs paint at a different rate than the surrounding wall, leaving a dull spot (called “flashing”) that’s obvious in angled light. One coat of primer takes ten minutes and prevents it.
Why can I still see my patch after painting?
Usually one of three things: it wasn’t sanded flush (check with raking light), it wasn’t primed (flashing), or the paint doesn’t match (sheen or fade difference). The first two are fixable — sand, re-prime, repaint. The third means repainting the wall corner to corner, which is the honest fix for mismatched paint.
How do I match a textured wall?
Light orange-peel texture can be approximated with thinned joint compound dabbed on with a sponge, or a texture spray can (practice on cardboard first). Heavier textures like knockdown are harder — get close, let the paint do the rest, and accept “close enough.” Perfect texture matching is a pro skill; good-enough texture matching is a DIY skill.
The Bottom Line
Small drywall repair is 20% technique and 80% patience: fill thin, let it dry completely, sand with light pressure, prime, and paint. The materials cost less than a takeout dinner, mistakes sand off, and every hole you fix makes the next one easier.
Once the walls look new, keep the momentum going — our new homeowner maintenance guide has the full seasonal checklist that catches the next wall dent (and everything else) before it becomes a project.