
A kitchen faucet that drips all night is more than an annoyance — it’s water (and money) going down the drain, and the drip often gets worse over time. The good news: most drips are caused by a single worn-out part that costs a few dollars. You don’t need to replace the whole faucet.
The key is diagnosis. A drip from the spout, a leak at the base, and water under the sink are three different problems with three different fixes. Find the leak first, then fix the right part.
Quick answer: A dripping kitchen faucet is usually caused by a worn cartridge, washer, or O-ring — a cheap part, not a broken faucet. First, find where the water is coming from: the spout, the base, a handle, or under the sink. Then identify your faucet type, shut off the water, and replace the worn part. Most fixes take 30–60 minutes.
⏱ 30–60 min · 💲 $3–20 in parts (typical range — prices vary) · 🛠 Beginner
What you’ll need:
- Replacement cartridge, washer, or O-ring kit (match your faucet — see below)
- Adjustable wrench and/or basin wrench
- Screwdrivers (flathead and Phillips)
- Allen wrench set (many handles hide a set screw)
- Plumber’s grease (silicone-based; for O-rings)
- Old towel and a small container for parts
- Phone camera — take photos as you disassemble
Building your basic kit? Our essential DIY tools guide covers what every new homeowner should own.
Safety first: Always shut off the water before opening up a faucet — use the shut-off valves under the sink, and know where your home’s main water shut-off is in case a valve fails. If the shut-off valves under the sink are corroded or won’t turn, stop and call a plumber rather than forcing them.
Step 1: Find the Leak FIRST (Diagnosis Table)
Dry everything with a towel, then run the faucet and watch. Match what you see to this table:
| Where the water appears | Most likely failed part | Difficulty |
|---|---|---|
| Drip from the spout, even when off | Worn cartridge, stem washer, or valve seat | Easy–moderate |
| Water pooling at the base of the spout | Worn O-ring(s) on the spout body | Easy |
| Water leaking from around a handle | Worn packing, O-ring, or bonnet nut | Easy |
| Water under the sink (cabinet floor wet) | Loose supply line, worn supply hose, or drain connection — not the faucet itself | Easy–moderate |
A spout drip is the classic “dripping faucet” and the most common complaint. Base and handle leaks are usually just as easy to fix. Water under the sink needs a different investigation — check the supply line connections with a dry hand while the water runs.
Step 2: Identify Your Faucet Type
Faucets fix differently depending on their internal mechanism. Here’s how to tell what you have:
- Compression (washer) faucet: Two separate handles for hot and cold that you turn multiple rotations. The handles feel like they “tighten down.” Common in older kitchens. Fix = replace the rubber washer (and inspect the valve seat).
- Cartridge faucet: Single handle or two handles that turn only a quarter to a half turn. The most common modern type. Fix = pull the cartridge and replace it.
- Ball faucet: Single handle that rotates in a ball-like motion (very common on Delta faucets). You can often see a domed cap under the handle. Fix = replace the springs, rubber seats, and cam (kits are sold together).
- Ceramic disc faucet: Single lever with a wide, cylindrical body. The handle moves smoothly with little resistance. Fix = clean or replace the disc cartridge seals.
Not sure? Take a photo of the faucet and the brand name (often on the escutcheon plate or spout), and the hardware store can help. If there’s no visible brand, the type identification above is enough to buy the right repair kit.
Step 3: Shut Off the Water and Prep
- Turn both shut-off valves under the sink clockwise until they stop (hot and cold).
- Open the faucet to release pressure and confirm the water is truly off.
- Plug the drain with the stopper or a rag — small screws love to disappear down drains.
- Lay the towel in the sink or cabinet to catch water and protect the finish.
- Take a photo of the faucet from the front before you touch anything.
If a shut-off valve spins without stopping, drips, or won’t budge — stop. A failed shut-off valve is a plumber job. You can still shut off the home’s main valve and continue, but don’t force a corroded valve.
Step 4: Fix It by Faucet Type
Compression faucet (washer replacement)
- Pry off the decorative cap on the handle and remove the handle screw.
- Lift off the handle, then unscrew the packing nut with your wrench.
- Pull out the stem. At the bottom you’ll see a small rubber washer held by a screw — this is the culprit.
- Remove the old washer, inspect the valve seat (the metal ring it presses against). If the seat is rough or pitted, smooth it gently with a seat wrench or replace it — a new washer on a damaged seat will keep dripping.
- Install the new washer, reassemble in reverse order.
Cartridge faucet (cartridge replacement)
- Remove the handle (look for a small set screw, often hidden under a cap or on the back of the handle — an Allen wrench usually fits).
- Remove the retaining nut or clip holding the cartridge.
- Pull the cartridge straight out. Note its orientation — take a photo.
- Take the old cartridge to the hardware store and match it exactly (see Step 5).
- Apply a thin coat of plumber’s grease to the new cartridge’s O-rings, slide it in with the same orientation, and reassemble.
Ball faucet (springs and seats kit)
- Remove the handle set screw and lift off the handle.
- Unscrew the cap and collar to expose the ball assembly.
- Lift out the ball. In the faucet body you’ll see two small rubber seats with springs under them — use an Allen wrench or your fingertip to lift them out.
- Drop in the new springs and seats from the repair kit (springs go in first, then seats on top).
- Reinstall the ball, cam, and cap. Don’t overtighten the adjusting ring — snug is enough.
Ceramic disc faucet (seal replacement)
- Remove the handle and the escutcheon cap to expose the disc cartridge.
- Unscrew the cartridge mounting screws and lift out the cylinder.
- Inspect the rubber seals on the bottom. Clean off mineral deposits with white vinegar and a soft cloth, or replace the seals/cartridge if they’re cracked or flattened.
- Reassemble, making sure the cartridge seats flat.
Step 5: Match the Right Part at the Hardware Store
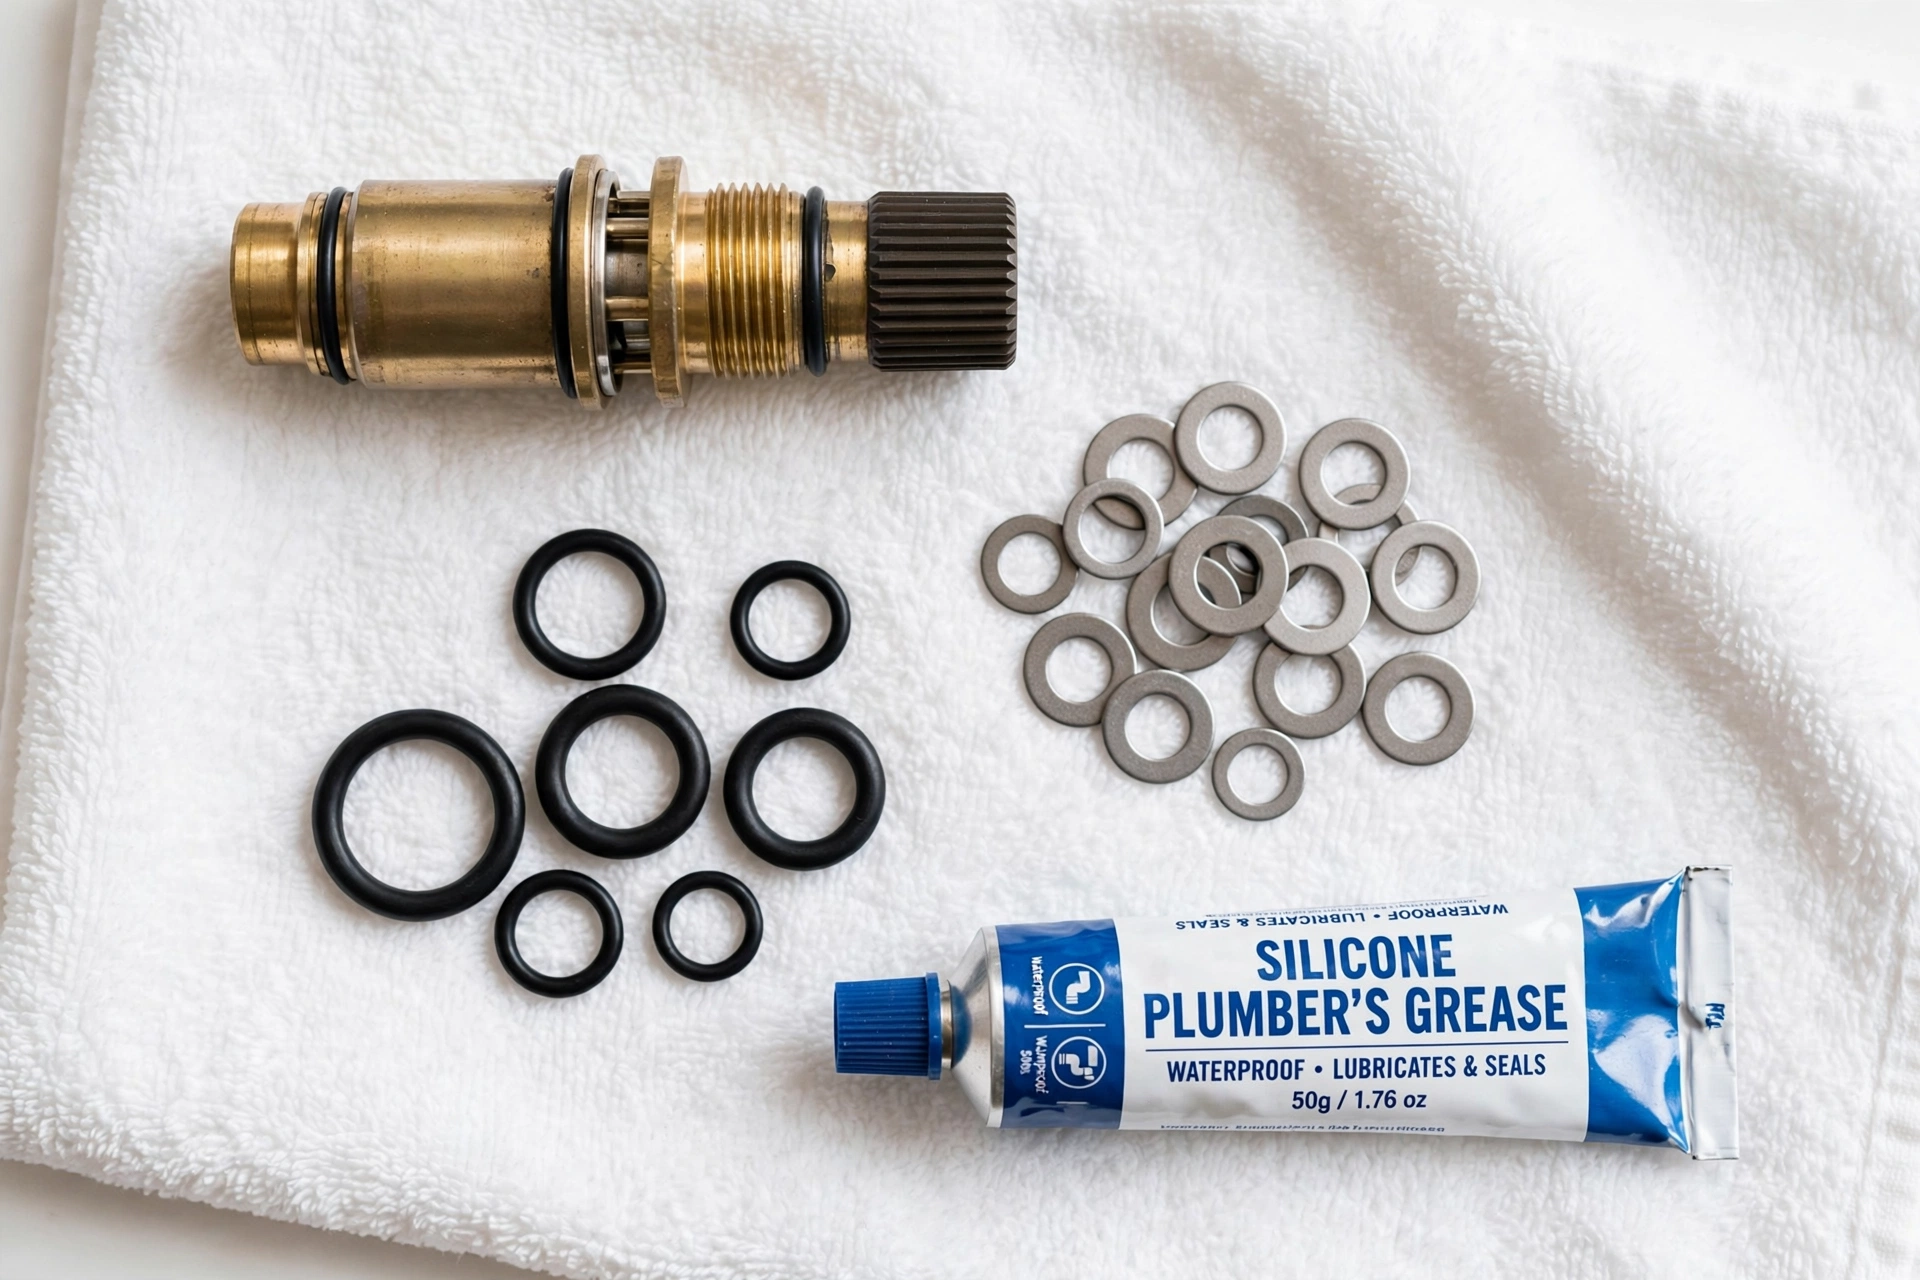
This is where most DIY faucet repairs actually fail — the wrong part. Do this:
- Bring the old part with you. A cartridge, washer, or O-ring in hand beats a description every time.
- Know the brand and model if you can (check the faucet body, the original box, or your home’s fixture list).
- Buy the kit, not just one piece. Cartridge kits, ball-faucet repair kits, and assorted washer/O-ring kits cost a few dollars more and save a second trip.
- When in doubt, ask the plumbing associate — matching faucet parts is literally their most common question.
Step 6: Reassemble and Test
- Reassemble everything in reverse order. Snug, not gorilla-tight — overtightening cracks ceramic parts and deforms O-rings.
- Turn the shut-off valves back on slowly.
- Open the faucet and let it run for 30 seconds to flush debris.
- Close the faucet and watch for 2–3 minutes. Dry everything, then check the spout, base, handles, and under the sink with a dry hand.
Still dripping from the spout after a washer/cartridge replacement? The valve seat is likely damaged — that’s the one part of this job that may need a pro’s touch (see below).
Troubleshooting: Problem → Cause → Fix
| Problem | Likely cause | What to do |
|---|---|---|
| Drip continues after replacing the part | Damaged valve seat, or wrong/mismatched part | Inspect the seat for pitting; re-check the part match at the store |
| Handle is very stiff after reassembly | Cartridge installed backwards or packing nut overtightened | Re-check orientation; loosen the nut slightly |
| Leak moved to the base after fixing the spout | Disturbed O-ring during disassembly | Replace the spout O-rings too — they’re cheap |
| Low water pressure after the fix | Debris in the aerator | Unscrew the aerator at the spout tip and rinse it out |
| Shut-off valve under the sink drips now | Old valve disturbed during the job | Tighten the packing nut slightly; if it still drips, call a plumber |
FAQ
Why does my kitchen faucet drip even when it’s turned off?
Because the internal seal — a washer, cartridge, or O-ring — no longer closes fully. Water pressure pushes past the worn part and out the spout. Replacing the worn seal restores the shut-off.
How do I know which replacement cartridge to buy?
Bring the old cartridge to the hardware store and match it physically, or match by faucet brand and model. Cartridges are not universal — a near-match that isn’t exact will leak.
Is it worth fixing, or should I just replace the whole faucet?
If the faucet body is in good shape, a $3–20 part (typical range) and under an hour of work beats a full replacement. Replace the whole faucet if the body is corroded, the finish is failing, or you’ve already replaced parts and it still drips.
Can I fix a dripping faucet without turning off the water?
No — don’t. Shutting off the under-sink valves takes 30 seconds and prevents a geyser in your cabinet. If the valves don’t work, use the home’s main shut-off.
The drip is very slow — one drop every few seconds. Can I ignore it?
It won’t fix itself, and it usually gets worse as the worn part deteriorates further. A slow drip also keeps the valve seat under constant wear. Fix it now while it’s a 30-minute job.
When to Call a Plumber — No Exceptions
This is a beginner-friendly job, but call a licensed plumber if:
- The shut-off valves under the sink are frozen, corroded, or leak when you touch them.
- The valve seat is visibly damaged and you don’t have the tools or confidence to reseat it.
- Water is coming from inside the wall or you see damage to the cabinet floor that suggests a long-term leak.
- The faucet is an unusual or high-end model with proprietary parts you can’t match.
- Anything involves soldering, or pipes before the shut-off valves.
For a broader sense of where DIY plumbing ends and pro work begins, see our beginner plumbing repairs guide.
The Bottom Line
A dripping kitchen faucet is almost never a broken faucet — it’s a worn washer, cartridge, or O-ring that costs a few dollars. Find the leak first, identify your faucet type, match the part at the store, and you’ll have it fixed in under an hour. Your water bill (and your sleep) will thank you.